Tuesday, March 27, 2012

Thursday Bread with Oatmeal and Freshly ground Fennel seeds via no kneading technique from Martin Johansson's ENKLARE BRÖD BOOK

Hello Tuesday... welcome...

my new bread bible...
I have a new lover. It gives me pleasure like no other. I added to my ever expanding cookbook collection. Yes, it is in Swedish, but I will try to add as many recipes as I can in English so you all can have a go at Mr. Johansson's brilliant bread recipes. This is from Martin Johansson's ENKLARE BRÖD (Natur&Kultur Stockholm) new book and you can follow him on his blog here www.litemer.paindemartin.se in Swedish..


Leftover morning oatmeal meet your maker
grind your own fennel seeds. Lovely!
Martin is a no frills kind of bread baker. Keep it simple, weigh your ingredients and let it rest and you will have an amazing loaf of bread. The book is divided into sections. No knead, Sourdough, and rest and fold (short time bread and pizza dough). I was drawn to the Thursday bread recipe because of it's star ingredient. Cold oatmeal. Yep, left over gloppy grey oatmeal." What a clever idea I said to myself, I must make this recipe!" He used fennel seeds in this and I just love, love, love the aroma it give and the finest of tastes it creates in the finished product.

All of Martin's no knead recipes are a quick fix before bed time and an early morning prep. Kind of recipe, so  I recommend you start this recipe in mid-late evening if you want it for breakfast. I have also made it first thing in the morning and baked it when I came home from work for our evening meal. Be creative and give this a try. I was ever so pleased. Really gobbed smacked at how delicious and long lasting this bread was. It stayed fresh and moist for over 4 days!

Thursday's bread
1 Form bread 5-8 minutes prep time 9 hours resting/rise time

Ingredients:


Fresh yeast 3 grams 
100 grams cold water
300 grams cold old fashioned oatmeal
300 grams high protein white flour
6-9 grams salt
1.5 teaspoons freshly ground fennel seeds
Raw oatmeal for baking
12 ice cubes


fresh yeast, look for it in your dairy section of your local grocery
After breakfast/ Before bed:


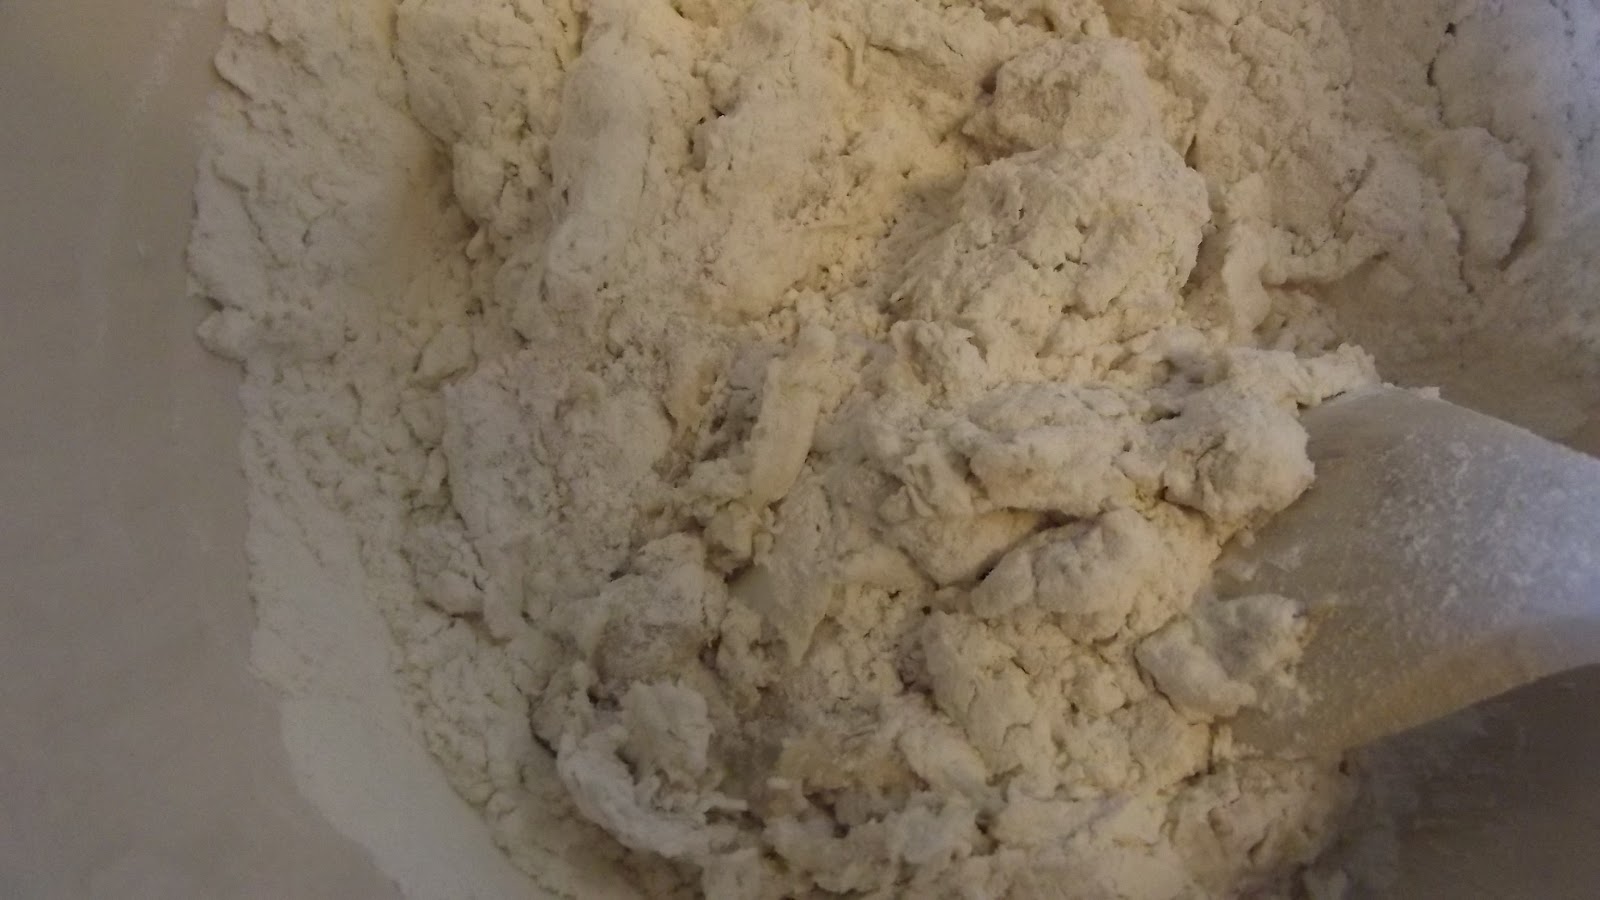
starting to blend together
Blend your dough. Mix your yeast with the water in a large bowl. Blend in the rest of the ingredients. Mix together gently until it forms a collective dough. Cover the dough with a lid or plastic wrap, and let sit at room temperature for 8-10 hours.

Ready to bake
In the late afternoon/Early morning:


Bake your bread. Butter your bread pan and cover the buttered form with the raw oatmeal. Sprinkle a good handful of more raw oatmeal to your counter top and gently remove your dough from the bowl. using your hands or a dough scraper. Gently roll your dough in the oatmeal, and add it to your prepared bread pan. Cover with a tea towel and let rise for 1 hour.In a draft fee place.
Out of the oven and cooling
Pre heat the oven to 250 degrees C or 500 degrees F.


The ice cubes help "proof "the bread and created a moisture cave for the baking process
Bake your bread:


MMMMMM... so lovely, so good and exciting.
With your oven preheated and your oven rake in the middle of the oven. With a n extra cookie sheet or baking tray. Add your twelve ice cubes and slide it directly under your middle rack. Add your newly risen bread and bake for 15 minutes. After the first 15 minutes you can turn down the heat to 225 degrees C or 450 degrees F. Let the bread continue to bake for a further 20 minutes. Remove the bread from the oven, and turn out the loaf to a cooling rack. You know the bread is baked if the bottom of the loaf sound "hollow" when your knock on it.
Let cool and then slice and enjoy. Couldn't be more enjoyable.


Thursday, March 15, 2012

Sharon/Kaki/Persimmon cake for Marina

Can you say vibrant!
I first met these little beauties when I lived in Switzerland in the late nineties. M. my house mother would slurp these down with glee during her last trimester of pregnancy. I didn't dive in at first, but I grew to admire these orange spheres. I know them as Kaki, and never really knew what to do with them until I came across a recipe from a famous American ex pat living in Paris Davis Lebovitz. I know ANOTHER Ready for dessert recipe(ten speed press) but hear me out. He is a guy with genius ideas, and you will thank me. This cake is to die.......fooooorrrr. I have made this many times and Everyone wants more. So, let us get down to some Sharon cake making.

If you can look out your window and see one of these trees growing, please take advantage and go and pick some very ripe persimmons and make this cake for yourself. If you don't have a tree please look for these in your local market. In Sweden they are now available in plenty and as it is nearing autumn in warmer temperatures. These should be available soon. For this particular recipe you need to have very ripe persimmons.They should be swollen in ripeness and ready to be scooped out. Kind of like a filled water balloon. If not then let them rest at room temperature until ripe enough to use.
I adapted this recipe to use what I had in the house, and i think it turned out fantastic.

Cake:


3/4 cup (120 grams) dried currents.. I used a combination of golden raisins and sultana's 
!/4 cup (60ml) brandy or whiskey
2 cups (280 grams) all- purpose flour
2 teaspoons baking soda
1½ teaspoons ground cinnamon
3/4 teaspoon salt
½ teaspoon freshly grated nutmeg
1 2/3 cups ( 355 grams) granulated sugar
3/4 (6 ounces)  ( 170 grams) unsalted butter. melted
1½ cups ( 375 ml) Persimmon/Kaki/Sharon puree ( about 3-6) David uses HACHIYA persimmons but I  have used Jiro persimmons that are the most available. They are a cross breed but work just as well.
3 large eggs at room temperature
2 teaspoons vanilla extract 
1½ cups ( 150 grams) walnuts or pecans, toasted and finely chopped


Directions:


Lovely little Smurf loafs......glee
Preheat the oven to 350 degrees F 175 degrees C. Coat a ten cup (2.5 liter loaf pan) or a Bundt pan or use little smurf size loaf pans I used 5. Coat inside of pan/s with butter, and set aside.


To make the cake, in a small saucepan over medium heat, bring the currents or raisins, sultana's and the brandy or whiskey to a boil. Remove from heat, cover and let cool.
Into a large bowl, sift together the flour, baking soda,cinnamon, salt and nutmeg. stir in the granulated sugar. 


In a medium bowl,mix together the melted butter, persimmon puree,eggs and 2 teaspoons vanilla.
Make a well in the center of the flour mixture, add the persimmon mixture, and gently stir. Fold in the raisins or currents whatever you are using, and any unabsorbed liquid, and the nuts.


Mix until everything is is moistened; DON'T over mix.Scrape the batter into the prepared pan/pans and bake until a toothpick is inserted into the cake comes out clean, about1 hour for whole cake and 20 minutes for little smurf cakes. Keep your eye on them.


drunken raisins
Remove from the oven and let cool completely. Once cooled you can serve as is or you can make a cream cheese icing and spread and serve as you would like a carrot cake. I loved this cake on it's own. it is so nice to be able to have a slice of this cake with just it's own self so to speak. I have tried it with cream cheese icing as well and it is divine. Here is a nice icing recipe for those who want to jazz it up all the way.


Icing:


4 ounces (115 grams) cream cheese
1 tablespoon salted butter, at room temperature 
½ teaspoon vanilla extract
1 tablespoon freshly squeezed lemon juice
2/3 cup (90 g) powdered sugar, sifted
4 to 5 teaspoons of water


Lemons and cream cheese equal best friends...
Directions: adapted from David Lebovitz Just desserts tenspeed press


To make the icing,in a stand mixer fitted with the paddle attachment,( you  can use a hand held electric mixer with beaters as well) beat together the cream cheese and 1 tablespoon of butter on high speed until smooth. Beat in the ½ teaspoon vanilla and the lemon juice, then gradually add the powdered sugar, beating on high speed until smooth. Beat in the ½ teaspoon vanilla and the lemon juice, then gradually add the powdered sugar, beating on high speed until smooth. Add the 4 teaspoons water;the icing should be pourable. If necessary, add 1 more teaspoon water.
Spoon the icing around the top of the cake, then tap the plate on a folded kitchen towel on the counter top to encourage the icing to run down the sides of the cake. Enjoy!!


Wednesday, March 7, 2012

Italian Chestnut Flour Madeleine's (gluten free) But Sinfully Delicious!

Sweet little delicate morsels
The sun is shining and I am home with lilla A. I am now no longer a Madeleine's virgin. Yep, I have joined the baking pack and whipped up my first batch of these bourgeois cookies.  I love to try anything once, and since I have read so much about chestnut flour lately on the web. I thought  I would give these very lovely Madeleine's a try and even better they are so easy to put together. All you need is a little time in your day to wait for the resting mixture to "rest" and then your well on your way to oh la la cookie heaven.
I am a shopping beast when it comes to baking equipment and ingredients. I search the web most days for new and I must have items. This Friday Leila Lindholm's- leila's Generalstore is opening for business and I intend to be one of the first to shop in her lovely new store. So excited! www.leilasgeneralstore.se  Please check out Leila's homepage here to get acquainted with Sweden's leading baking queen www.leila.se  it is in both Swedish and English. Now, with that said let's get baking.

Ingredients


1 cup (128 grams) plus 4 tablespoons of Italian Chestnut flour, sifted
1 stick (8 tablespoons) unsalted butter, melted and cooled
½ cup (64 grams) plus 1 tablespoon of sugar
3 large eggs
1 teaspoon baking powder
1 tablespoon honey


The batter waiting for you to bake
Special equipment needed: Madeleine mold pan


Directions:
Melt the butter in a pot and let cool slightly at room temperature. Sift the flour with the baking powder and set aside. Place the eggs in the bowl of a stand mixer and beat. (You can also use a hand mixer if you desire.)Add the sugar and the honey and beat until white in color and light.  In a separate bowl sift the Chestnut flour and the baking powder together. When sifted, add the flour and the baking powder and mix until incorporated.
Add the cooled melted butter to the dry mixture and stir until well combined. Cover your batter with plastic wrap and place in the refrigerator for 2 hours. Preheat your oven to 420 F-210 C. Grease your Madeleine molds and fill each mold 3/4  full with the chilled batter. The batter is quite thick, and so make sure you start out with a little batter in each mold so you have uniformity in your cookie size.


Ready for the oven
Baked and cooling. Oh ,so nice.
bake your cookies for 6 minutes to get the  traditional "Madeleine's "bump"- then reduce the heat in your oven to 350 F-175 C. Continue to bake for around another 4-5 minutes. Remove from the oven and gently remove the Madeleine's from the mold and let them cook on a rack .NOTE: Make sure your cookies are around the same size to ensure equal baking. You do not want half baked and half gooey inside. Let the cookies cool for a few minutes before you turn out onto a rack, so the tops have a chance to set, and not get stuck on the drying rack.


I was so surprised how delicious and dainty these Madeleine's were. I hope that these make it into your baking wishlist. Please let me know what you think. I found my chestnut flour at a heath food shop in the city. There are many sites on the web that also sells the chestnut flour. Be warned it is pricey. I paid around 18 dollars for a kilogram on sale, and I live in an very expensive country. Good luck and happy baking. Leila here I come. See you Friday...