Tuesday, March 8, 2011

Stuffed Focaccia with chorizio, plum tomatoes and onions

Stuffed Focaccia with Chorizio,plum tomatoes, onions and Gruyère cheese 
Okay you guys must think that I just spend days in my kitchen slaving away to post you all these goodies. Well, your right. I couldn't wish to be any where else on my free time than in my kitchen cooking and baking my little heart and wallet out. I know another posting for chorizio sausage, but hear me out. It is nearly impossible to find any good quality Italian sausage or any meat like sausages in my local shop or any near by, and I didn't have the time to take a trip to Göteborg to the Salu Halle  to find a real sausage, so hence here is chorizio again.....Which in this recipe so made my mouth thank me.


I love bread, all kinds of bread, hard breads, white breads, danish breads, swedish breads, amish bread, etc, etc.....Then I came across this beauty onwww.theitaliandishblog.com and I knew I had to try it out. This is the best and easiest wow bread to make. I adapted it quite a bit to use what I had on hand and it came out so smoking delicious, I think this is a sure keeper for the days of beer swiggin' on the balcony this summer.


The Italian dish used turkey sausage and one large onion, Parmesan cheese, habanero pepper, and oregano, but I took it a few steps farther and added some all time goodies of mine. Fresh baby plum tomatoes, red, yellow and spring onions, Gruyère cheese and dry chili flakes.
It is a fun way to make a hardy bread sandwich for the coldest months or to take on a picnic or out ice fishing. I am sure if you tried it you would be amazed at the simplicity of this recipe. Go forth my bread foodies and bake one for your nearest and dearest!


Serves  6-8
Preheat oven at 175 degrees C
You will need a 9'' inch spring form pan for this recipe.


how to sponge:
1/2 cups of warm water(not hot)
sponge
1/2 teaspoon instant yeast fast acting rapid rise( I skipped this part, and used a traditional fresh sweet based fast acting 50g fresh yeast cube)
3/4 cup all purpose unbleached flour


how to dough:
1 teaspoon instant yeast( I skipped this part and just went with the 50g all in the sponge)
1 cup water
silky second rising dough
3 tablespoons olive oil I used extra virgin
ADD THE SPONGE ABOVE
3.25 cups of unbleached all purpose flour  approximately)
2 teaspoons sea salt


how to stuffing:
2 tablespoons olive oil
500g-1 pound sausage 
2 medium yellow onion
1 small red onion
2 stalks of green onions or spring onions or salad onions
1 1/2 teaspoons of dried chili flakes or any fresh chili of your choice
1 teaspoon coarse sea salt, kosher salt,freshly ground black pepper
3 cloves garlic minced or grated
1/2 cup freshly chopped parsley
1/2 cup freshly grated Gruyère cheese
six-8 small fresh plum tomatoes sliced length ways


how to topping: 
2 tablespoons extra virgin olive oil
1 teaspoons coarse sea salt, black pepper, chili flakes, oregano, or any kind of spices you like.


To make the sponge:
sprinkle the yeast over the warm water in a large bread making bowl and stir in the flour.Cover with plastic wrap and let rise in a warm place until doubled and bubbly about 45 minutes.


To make the dough:
Add the rest of the yeast if using dried and not fresh. I added  all yeast in at the sponge part, so I skipped this part and added in the water, olive oil and then added about 2.5 cups of flour and worked with my hands a wooden spoon.The original recipe uses a Kitchen aid bread hook but, we are all about getting our grove on with hands on bread making in this house!
Knead in your bowl until a somewhat sticky but somewhat formed dough. Roll out onto the counter and add the rest of the flour or as much as you will need to make a silky springy dough.( You know when it is springy when to poke at it gently and it releases it's poke back to it's original form). Knead for a good 5-7 minutes. It's great relaxation!


Return to a clean large bread rising type bowl and coat with a few teaspoons of olive oil and roll the dough around to keep from drying out. Cover again with plastic wrap and put in a warm place a top the preheating oven is a great place to let rise until double again.About 30-45 minutes.Make sure the plastic wrap is not tightly clinging over the edges to allow the dough to rise.


how to stuffing:


remember to strain off that fat!
I removed the casings from my sausage and crumbled them into nice bite size pieces.Slice all your onions and garlic. Grate your cheese, chop your parsley and set a side.Take the olive oil and heat up in a frying pan and fry up your sausage. Remove the meat with a slotted spoon and dis guard  the fat( there will be lots!)BUT:: do not wipe out the frying pan. Add the olive oil, onions,garlic and cook until they are nicely wilted but not browned or burnt. Add back the precooked sausage and mix in the chili flakes and a little salt and pepper. Take off the heat and pour into a bowl and add your chopped parsley and grated cheese. Let  sit on the counter room temp until bread is finished rising.
yummo
baby plum tomatoes!


how to third rise:
the bottom before the stuffing added
Adding the top, and hello giant hand..:(
After the second rise and you have punched down the dough and oiled your spring form pan. Divide the dough into two equal parts. Flatten the first part into a disk that resembles roughly the size of your spring form pan.Form the dough with your hand to flatten but not torture the dough into the pan. Now spoon the filling onto the top of dough.Add the sliced baby plum tomatoes and add repeat the procedure with the top portion of the second half of the dough.Cover with a clean tea towel and let raise again for 30 minutes. When it is finished rising gently dimple the top of the dough with your fingers. drizzle a little olive oil over the top and add all the chili flakes, oregano, basil any type of dry herbs you would like. Add a little sea salt and lots of black pepper. 


oh so so so so goooddd......
Bake for 35-40 minutes until the top in golden brown and sounds hollow. Let sit for a few minutes or an hour then undo the pan and serve in slices. So beautiful this is! You can reheat this in an 175 degree C oven for 15 minutes. Please try and share with your foodie friends and family. 

Monday, March 7, 2011

Brown Butter Butternut Squash Spice Cake

A little spice to light up your taste buds!
If your a real foodie, then food blogs like www.101cookbooks.com is the place to start. I am always spending time daydreaming of new and exciting healthy food for the goat and lilla a. I came across 101 cookbooks a few years ago, and it was like a breath of fresh air. It was so cleverly planned, well researched, and I could some what identify with the author Heidi Swanson's love of usual and quirky recipes and natural ingredients.

aw, butternut squash don't be afraid!
I never thought that I would be the author of my own food blog, but I am grateful to my very blog minded buddy Stacey www.toquegirlworld.blogspot.com for helping me reach one of my goals. Oh, I realize I am not the best writer, nor are my recipes anything special, but for me to have somewhat of an audience experiencing  my love of food is all I can ask for. So, for you few faithful readers, please keep on following me, and thank you for giving my dream a voice.This one's for you.

Adapted from 101 cookbooks brown spice cake


puree  after roasting
1/2 cups of unsalted butter
1/2 cups whole wheat flour
 plus 1 tablespoon each of butter and flour for the pan
1 teaspoon baking soda
3/4 teaspoon cinnamon (mill&mortor as well)
1 teaspoon Gram Masala curry ( I used Kandyan curry medium spice from the fusion spice blends from www.millmortor.com
1/2 teaspoon ground cardamom
1/2 teaspoon fine grain sea salt
1 cup fine muscovado sugar( plus another 1/2 tablespoons for topping)
2 large eggs
1/2 cup well-pureed roasted butternut squash
1/4 cup milk
1/2 cup lightly toasted hazelnuts( I used hazelnuts because that is what I had on hand. The original recipe from 101 cookbooks uses almonds)

Puree: How to roast a butternut squash: Tip and top the gourd and cut lengths width. Scrape out the seeds, and slice in sections or quarters and place on a baking tray. I left the skins on, and peeled them off after roasting at 200 degrees C for 30 minutes.No need to season, butternut squash is sweet and lovely on it's own. Add to a bowl deep enough for your emulsifier and puree until nice and smooth. Set aside.

Brown butter method:
While your butternut squash is roasting. Add your butter to a small pot over medium heat. Watch it, you do not want it to scorch. I used salted butter, because that is what I had on hand. Let cook for around 25-20 minutes and clear away the excess foam if you desire. You know your butter has browned when you can smell this beautiful nuttiness from it, and the milk solids are the darkish bits on the bottom. Take off the heat and let cool, but not HARDEN!! If your in a hurry and you need to get this cake into the oven, you can skip this stage and just add the melted butter, but you loose a ton of flavor.
Adding the brown butter to the wet ingredients 

browned butter before I spooned off the foam. 
Now, wow you must be shaking your head, so many little things to do, for just one cake. I promise you it is so yummy, you will be adding this to your favorite cake recipes.Okay, now where are we? Oh, yes, the next step.....

adding wet to dry...cool
take a large bowl, and sift your  dry ingredients flour, baking soda, curry powder,salt, cinnamon,cardamom  set aside.In another bowl add your muscovado sugar and whisk together with the eggs. Add your butternut squash puree,milk and the cooled butter. As in most cake recipes you then add the wet to the dry mixture only stirring until incorporated.

This recipe calls for you to use a loaf pan, but I have a great selection off vintage baking tins collected from church secondhand  stores, and I thought it would be great in a bunt cake pan.You need  to take the extra butter and flour and dredge the pan in the butter and then flour it with the extra flour to prevent the cake from sticking, and if your a beginner baker, I would stick to a loaf pan, as a bunt cake pan can be a little unforgiving around the flute. Set aside. I roasted my hazelnuts in a frying pan over medium heat until they were a starting to get some color and I could smell the oils being released.( I always take hazelnuts in a plastic sandwich bag and beat them with a meat clever until I am satisfied with the ratio of smashed cracked and halved nuts.)
right out of the oven!
After they have been roasted I stir in half the amount into the batter and pour the batter into the prepared cake pan, and top the cake with the remaining nuts and left over muscovado sugar. Tap a few times on the counter to release any air bubbles and set in an preheated oven at 180 degrees c. The original recipe says to bake for 50 minutes, but this is a cake you do not want to over bake. I check it around 35 minutes and if your toothpick or skewer comes out clean remove from the oven. I always know that my cakes are finished when you can start to smell them baking. Let sit in the cake pan for 15-25 minutes then gently remove from the pan.
Serve with a good spicy cup of chai tea or a nice cup of hot strong coffee. Delicious!

Tuesday, March 1, 2011

Chorizo Pytt i Panna with Picked Beets and Egg Swedish style

Served with pickled red beets and a fried egg. Comfort, pure comfort
fry up your onions
It is what Swede's call Husmanskost or in english, potluck. It is the grandma on the farm recipes that cross most Swedish tables everyday. These recipes can be found at most eateries even the big fancy pancy ones located around the Stockholm and Göteborg. They are the same as "grandma's" just served up on fancy plates and charged double of what you would get if you went to a local cafe or lunch bar.

add in the potatoes 
Add  the sausage to your fried onions
These recipes are passed down from generation to generation. Our children learn to eat them in their daycares, and they serve up a mean plate of Blood pudding at school as well.(ICK) but it's tradition, and who am I to knock tradition? Let's take one of my favorite husmankost  for instance. Pytt i Panna. A pytt is a bit and panna is a frying pan. Add it all together and we get hash. Nothing new here, just way better executed then the heavy greasy hash most diner's are serving up else where.The key to good swedish pytt i panna is precooking your spuds and letting them cool completely before cooking. I always try to plan ahead to make sure I have day old boiled un pealed  potatoes for this very reason. A couple of yellow onions and the best quality chorizo sausage I can get. I really like( Gourmett Kött brand available at ICA in the sausage department) Good quality at around 90% whole meat that's a real sausage. No bum and antlers in this quality sausage! Traditional pytt i panna is made with leftover meat sausages, pot roast, even fish, chicken works well here too. Just remember that you want to cut everything in the same size smaller the better so it all cooks evenly. I always like to cook everything separately, it adds a little more time to the meal, but it is more fun that way!!
Here is my recipe for 2 hungry people or 3 light meals.
6-8 pre- cooked day old boiled potatoes pealed and diced
2 large yellow onions pealed and sliced
3 large chorizio sausage or as much meat to potato ratio you want
2 tablespoons of butter
a tablespoon of vegetable oil
salt and pepper¨
a pinch pf paprika
garlic powder a dash hear and there..
First of all it is essential that you have a good frying pan that has a non stick surface, as this will help you to cut down the amount of fat you will need to help you fry this meal up. I always peal my potatoes first and chop them up in to little cubes the size of a traditional store bought hash potato would be like, or a nice dice. I follow the same with the meat and the onions. I always fry up my onions first on medium high heat, making sure not to over brown them or burn them. Then I add in the sausage and lastly the potatoes I like to add the seasonings here, salt and pepper and a pinch of paprika is great. Remember to taste, taste, taste. There is nothing worse than a tasteless potato . 


Fry up over medium heat stirring and tossing often and adding a little more oil or butter as you go to help prevent sticking. I like to preheat my oven to 200 degrees C and pour the pre cooked pytt into an oven sheet and let the oven do all the work. It needs to be watched and tossed a few times and heat lowered to 180 degrees C for 20 minutes then fry myself up a nice sunny side up egg. Plate up top the pytt with my egg and add a heaping tablespoon of pickled red beet slices. Just amazing. A real good easy to make dinner straight from my Swedish kitchen to yours.

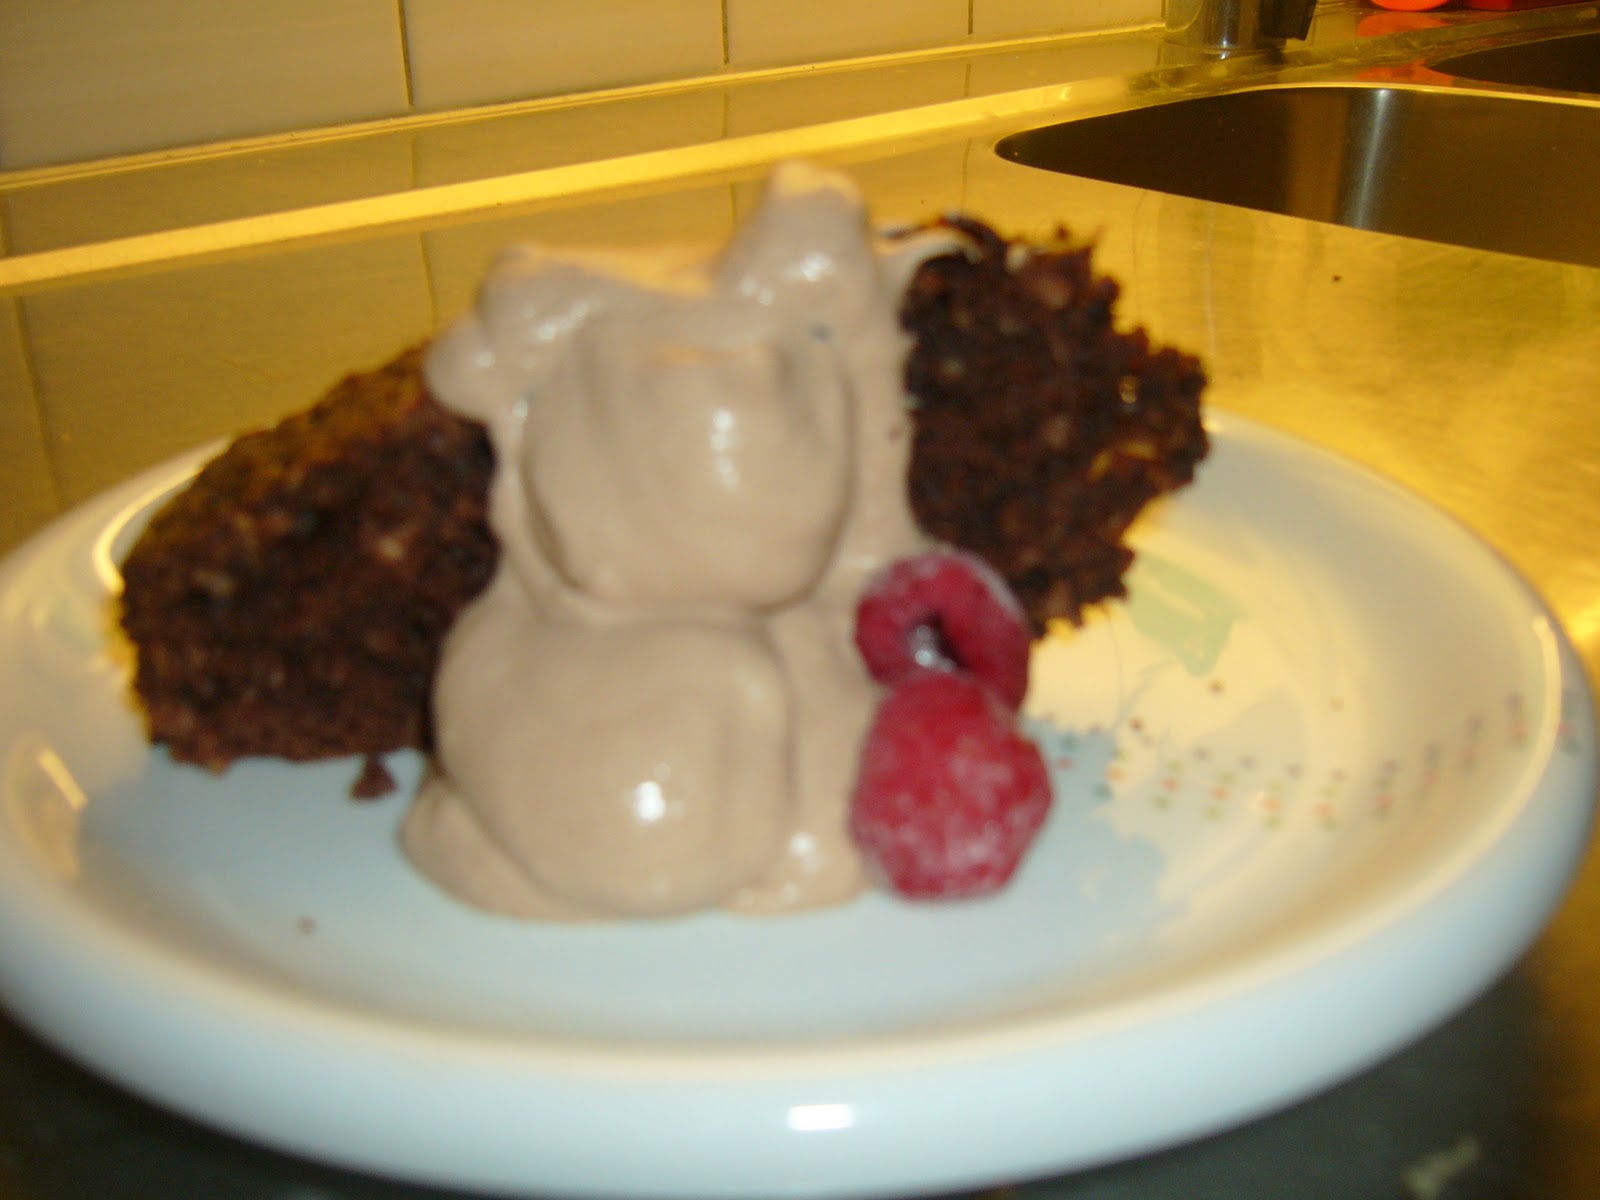
Modern classics melt-and-mix chocolate coconut cake for Jenny

Chocolate whipped cream with frozen raspberries need I say more?
Thanks in part to Donna Hay, Modern Classics Book 2
Where did I find the time to work a full day and come home unload the dishwasher, hang a load of laundry, bake a cake, make a full coarse dinner and dishes and watch the OSCARS and still get myself to bed at 1 am??  It is because when you have great inspiration, you can bake just about anything. I swear to you this cake is a great comfort food, with an even better lasting impression. It is a one bowl wonder and it literally takes any baker 10 minutes to whip up and 35-40 minutes to bake. Can we say really, that easy. Yes in deed. This one is for Jenny, AK little sister and a foodie by heart. Enjoy.P.S Jenny when can I come and cook in your kitchen?? Krams.
Preheat the oven to 180 degrees C (350 degrees F). 
Directions: made easy
Place 250g (8 oz) melted butter, 3/4 cup sifted cocoa powder, 1 1/3 cups of sifted caster sugar(superfine) ie:  make your own superfine caster sugar just add it to your mix master and pulse for a few seconds. 3 eggs, 1 1/2 cups desiccated coconut(everyday baking coconut) 1 1/2 cups plain (all purpose) flour,1 1/2 teaspoons baking powder and 3/4 cup (6 fl oz) milk in a bowl and whisk until smooth. Pour into a greased 24cm (91/2 in) round cake tin( I used a spring form pan) lined with non stick baking paper and bake for 50 minutes. This where I think the recipe needs to be changed. I baked it for 40 minutes and tested it and I think it was a little over baked for my taste. I wanted a more gooey cake, so if you want a cake with a little more gooey parts then bake it for just 30-35 minutes, but watch it!! You can dust it with cocoa and serve warm or cold with thick double cream. I used homemade chocolate whipped cream!  

Sunday, February 27, 2011

Shopping in Stockholm

My very new and favorite Sel (Salt) glass 50's inspired jar I am so in LOVE!
A couple of weeks ago I took Lilla A to Stockholm on the X2000 speed train. He loved it. It makes a 6 hour ride down to three and is nice to do a mommy and Lilla A adventure together. I love anything to do with baking and cooking dishes and gadgets. I can not tell you the hours I have spent drooling over all the wonderful things there is to buy to make your cooking and baking experience more enjoyable. I was lucky enough to make it to the new  HOUSE DOCTOR shop in PUB and buy me a few little goodies.

I just had to have the Sel container and at 150 sek kr that is one heck of a deal. (about 30 dollars) It is so convenient and fits my kitchen like a charm. My original thought was to find some sort of small tray or box to fit all my sauces and oils and vinegars. I came across this rack for letters, but thought what a great multi service product it would be for my sauces. It would be easy to clean and it could hold the weight of everything. Good buy at 195Kr. Thanks House Doctor!  

How to Raspberry and White Chocolate Muffins

I apologize for such horrible photos. I am getting better! 

There is nothing more satisfying than whipping up a batch of moist good to the last crumb muffins. I feel like I have been a bad lover to my little blog, and by adding this post maybe I will feel better by not posting anything in the last three weeks. Bad blog mommy. Shame on me, so here it is another wonderful Donna Hay inspired  recipe.

2 cups plain (all purpose)flour
2 teaspoons baking powder
someones got sticky fingers!!
3/4 cup cups caster(superfine) sugar you can make your own by blitzing in your food processor for a few seconds
1 cup of sour cream( I used fil which is curdled milk which is strained and looks like plain white thinned out yogurt) widely available in Sweden, but you could use buttermilk  which would be it's cousin. 
2 eggs
1/3 cup of vegetable oil (I used corn oil)
1 1/4 cups fresh or frozen raspberries 
3/4 cups of chopped white chocolate


Step one:
Preheat the oven to 180 degrees C 350 degrees F
Sift flour and baking powder into a bowl. Add the sugar and stir to combine


Step Two:
Place the sour cream, eggs, oil in a bowl and whisk until smooth. Stir the sour cream mixture through the flour and sugar mixture UNTIL JUST COMBINED.


Step Three:
I always over fill my muffins as it is more fun to add more stress when trying to remove them!!
Sprinkle over the raspberries and white chocolate stirring just a couple of times GENTLY!! You do not want hard dense and pink muffins here.
Line your muffin tins with paper liners and spoon into the liners until it reaches two-thirds full. Do not over fill you need room for them to rise. Bake for 12-15 minutes or until toothpick or skewer comes out clean when tested. Cool in pan for 5 minutes then gently remove and cool on a cooling rack. Makes 12 lovely gorgeous muffins. Cover and store for a few days if they last that long!!   
  

Pasta Puttanesca with tuna for a goat in love

served with fresh buffalo mozzarella on linguine pasta   
My goat is a vegg head and he loves anything to do with pasta, cream and habanero scotch bonnet peppers. It is not hard to cook for him, but it can be a little insensitive on his part when I have slaved over a good meal to watch him destroy my perfect seasoning with a fiery of hot peppers. I think what's the point. I could just be one of those microwave ladies and throw a dish in the microwave slather it with hot peppers and hot sauce and I am sure he wouldn't even notice the difference. He would just say "it was ok". Well, it was a rare change the other day when I whipped up a batch of my amazing pasta Puttanesca for him, and he didn't add a thing. Just ate, and ate and ate until he had the happy mans glow on his face.
serves 4

1/4 cup extra virgin olive oil
3 garlic cloves
6 anchovy fillets
1/4 teaspoon crushed red pepper flakes 
3 cups of my homemade butter onion sauce (or a 450 g jar of good quality pasta sauce)
pinch of sugar
2 fresh basil sprigs
1/4 cup kalmata olives( I used green regular pimento olives) Kalmata olives can be a little over baring
1 heaping tablespoon of capers
salt and pepper to taste 
1 can of best quality tuna in water you can afford drained.

Directions:
Heat oil in a large sauce pan. Add the garlic, anchovies and crushed red pepper flakes. ( I use Dilip's red pepper flakes from Mill and Mortar  winter LARDER (see links on main page for store and web address)
and cook over moderate heat, stirring for 1 minute. Add the sauce and stir in the sugar, basil olives and capers. Season with salt and pepper and bring to a boil. Simmer sauce over low heat, stirring occasionally until it thickens.(About 20 minutes)  Season to taste, and discard basil sprig add the drained can of tuna and let simmer while you prepare the pasta. Serve scooped atop a lush amount of pasta and garnish with the soft dollops of buffalo mozzarella. Enjoy!

Wednesday, February 9, 2011

Shortbread Sandwich Cookies With Blood Orange Filling For Anna-Karin and Smilla

oh so pretty and comforting
Have you ever mindlessly wanted to bake till you drop? Well that is a constant desire in my little pea sized brain. I have visions of baking from dawn to dusk, and it is even worse with cooking. I am sure it is to compensate when I am feeling low or the weather has been crappy outside.
I was on such  a good pace with my blog. Adding entries regularly and enjoying it. Work was well, and my time in my Swedish language internship had not started yet, and I was feeling confident. Then.... we got the news....
A friend from Goat's past and (lilla A's godfather) S. good friend C, died in a horrific car accident that left two dead and one walking away from the scene physically unhurt, but scared for life.(He was wearing a seat belt)

I was all set to make an entry then I just couldn't it was so hard to be up beat and cheery. I never really had a relationship with the deceased but the people who mean the most to me did. It is a strange place to be. It is like grieving through osmosis. I wanted to post something for my pal A-K.Who like me loves, loves and loves baking even more than me, and something that perhaps would give her some sort of pleasure in her time of need. This is for S&A.K and the true meaning of friendship and food. It is like bread and butter they are hardly separated

try to make then the same size you want to sandwich these babies .
Looking  forward to seeing you both on sunday. Vad blir det för mat?.(what kind of food is it going to be)?  

Adapted from Donna Hay's Modern Classics Book 2
Melting Moments a.k.a. Shortbread with Blood orange filling sandwich cookies.

175g butter, softened
1/4 cup icing sugar
1 teaspoon vanilla extract
1 cup plain flour all purpose(sifted)
1/4 cup (cornstarch) corn flour(sifted)

Directions: Preheat oven to 180C or 350F
Place butter, icing sugar and vanilla in a mixing bowl and beat with mixer until light and creamy.
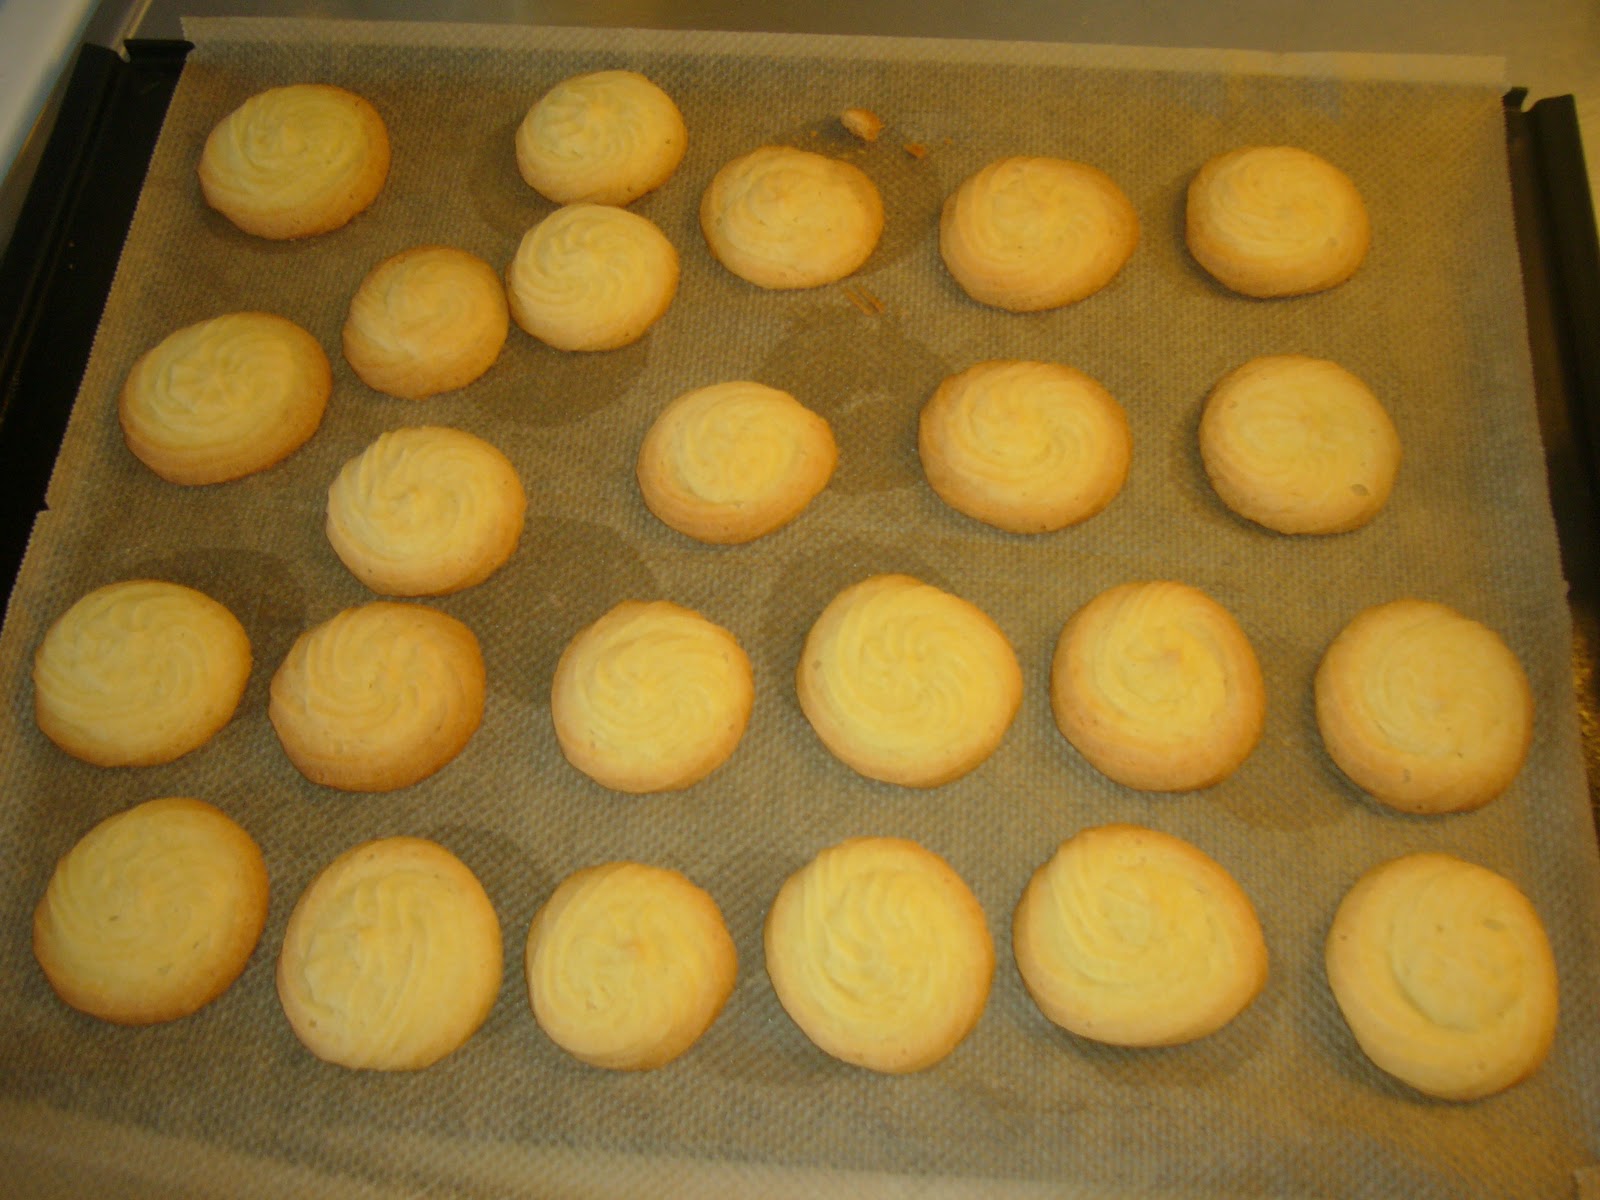
shortbread!
Stir in the flour and the cornstarch until combined. 
baked until just golden!
look at that color, can 't go wrong with a blood orange!
a cookie spatula is a great investment  
Place mixture into a piping bag with a star or fluted nozzle and pipe them in rounds about 3cm, 1 inch onto a baking tray lined with baking paper or silicon sheets. Allow room for some spreading. Mine spread quite a lot, and I think I should of chilled them prior to baking. They are a real super tasting shortbread cookie. DELICATE so be gentle when you ice them and sandwich them. You should get 16 pairs out of this recipe, but I only got 13. I think mine where too big?? Let the cookies cool completely on their trays and then remove the icing from the fridge and ice them with about a couple of small teaspoons of the blood orange filling. Find two some what matching shapes and sandwich them together. Let chill in fridge to stiffen the filling, but let them rest 10 minutes before serving. A good cup of Earl Grey tea would go so nicely with these! 


Filling
60 g butter softened
1 cup icing sugar(confectioner's sugar)
2 teaspoons or one whole blood orange(small one)
2 teaspoons blood orange grated orange peel.


Melting moments shortbread cookies with blood orange filling sandwich cookies for those times of need
To make the filling, place the butter, icing sugar,blood orange juice and rind in a bowl and whip with electric mixer until fluffy and creamy. I set it in the fridge for at least 10 minutes prior to icing. A little firmer to work with. May these little comforting cookies find a place in your kitchen as they are super fast and easy to make.Enjoy, and thanks Donna for the inspiration!


Friday, January 28, 2011

My first homemade Ricotta

freshly squeezed works best here
I found a new food blog that specializes in Italian  cooking. Who doesn't love pasta and a good sauce? Spinach lasagna with home made ricotta. Oh, the endless possibilities! I stumbled across http://www.theitaliandishblog.com there Elaine,( from Richard Ferretti via Gourmet, via the Italian dish blog )had it all neatly posted how to make your own ricotta. I was excited, and it is ever so cheap to make on  your own. I was off to my local  corner store and picked up some 3 percent whole milk and a lemon. I always have a readily supply of heavy cream available for the goat.

2 quarts whole milk
1 cup heavy cream
1/2 teaspoon salt
2 tablespoons lemon juice
starting to curdle.
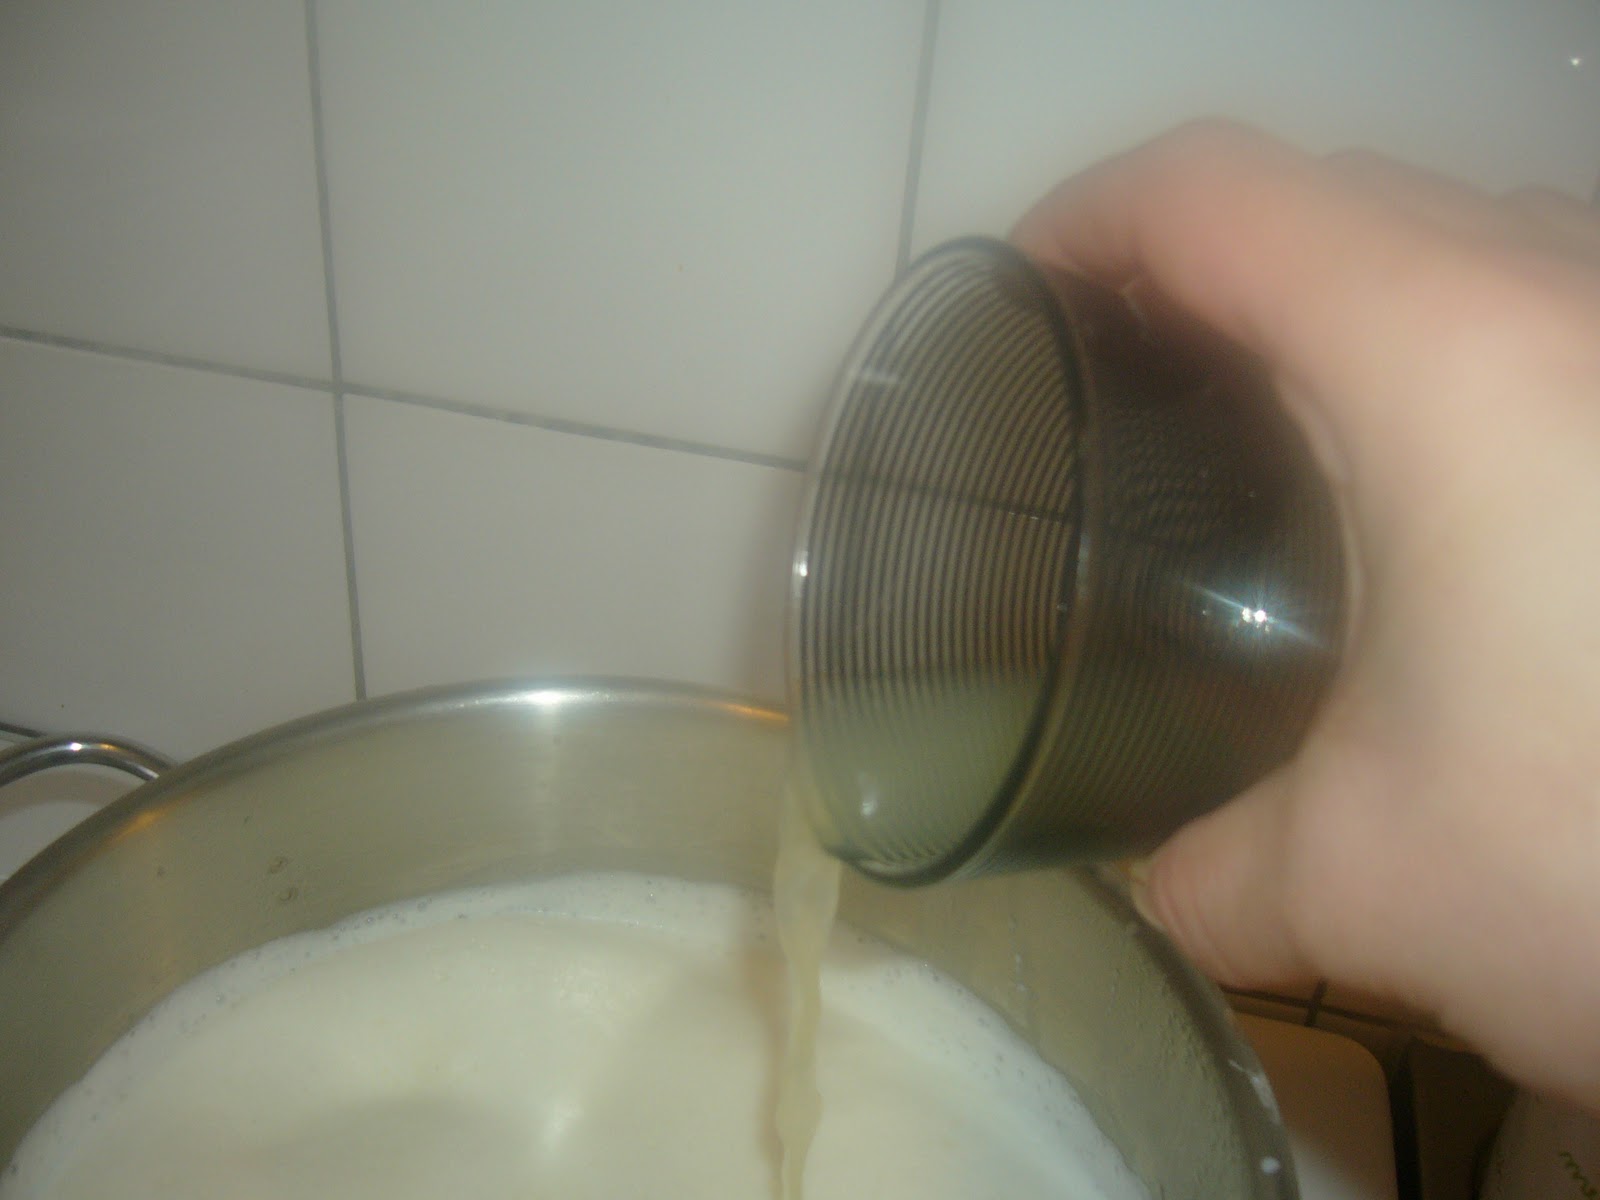
Line a large strainer with a layer or two of cheese cloth and place over a large bowl. Slowly bring the milk to a rolling boil in a 6 quart heavy pot over moderate heat, stirring occasionally to prevent scorching.Add lemon juice. Reduce heat to low and simmer, stirring constantly, until mixture curdles, about 2 minutes. Pour into lined strainer and let drain for 1 hour(note: I let it drain for just a few minutes, so it does not become dry). After discarding the liquid, chill the ricotta covered.

oh, those wash clothes!
I followed The Italian dish's recipe, but there was one little hick up. It took me 1 hour to get my milk and cream to curdle not two minutes as her recipe quoted.. I was a little perplexed by this and while it was simmering I read a little more on the web. I found that it is ever so much more quickly to make if you add all the ingredients when stated!! I added the cream and the milk but forgot to add the salt until it was boiling. I perhaps didn't let the cream and milk boil long enough before I added the lemon juice. I found I needed to add at least 4 tablespoons of lemon juice to make it finely come to a curd.I kept on raising the heat and lowering the heat and stirring and stirring and finely it was finished. I did not have any cheese cloth but those washing up rags that everybody has in the cupboard worked out perfectly.( see picture you know which ones) I let strain for a few minutes not the one hour most recipes call for and put in the fridge. Let it rest covered in the fridge for at least 2 hours before using. Keeps for two days covered in the fridge.

Tomato, Onion Butter pasta sauce for a true foodie.

It's friday. I have the next three days off , my house is clean, laundry done, so that leaves me to just cook, blog, and spend time with the little man.I am a serious food blog reader and I have a lot of favorites, but I sometimes come across a few recipes that have been making the blog rounds and I as a newbie have to also try out. I live in the forest so tying to get my hands on a can or two of San  Marzano plum tomatoes is impossible, so it was off to my local corner store to get me a few cans of their best plum tomatoes. 
As I  love to cook in large quantities I always double or triple a recipe for the freezer or  for the up and coming week. I  was inspired to make this sauce with the idea as using it as my base for eggplant and spinach vegetarian lasagna with home made ricotta cheese. Still might in fact.

I am off to Stockholm next week with lilla A for a visit, and a little cooking at J&K in Djursholm.I wanted to cook something for them that they could easily make for themselves when they had friends over. I started doing some reading on the web and thanks to http://www.smittenkitchen.com  and Lucia  at http://www.thewednesdaychef.com I think I found the start of something beautiful. Tomato,butter and onion pasta sauce. Sounds pretty basic doesn't it? 

These three little ingredients has created the base of a fantastic sauce. I find tin tomatoes tinny' and bitter so I had to tweak the original recipe to incorporate a little sugar and the left over chopped garlic from my croutons and a little bit of finely ground black pepper as well.   I so wanted to cook this sauce as clearly intended, but the goat is such a cream freak that trying to get a tomato sauce in him other than on a pizza is a battle in itself. 

it is really that easy!
I can say I will never make a tomato base sauce different ever again. My house smells fantastic! The best part of this recipe is that 95% of us have the ingredients already in our house. Please try and tweak and add as your taste desires. enjoy, I know I will.

4-6persons

6- 400g cans of plum tomatoes
220 g unsalted butter( I used salted)
6-smallish-medium yellow onions
1 teaspoon salt (go by taste) 
I also added 1/4 cup sugar,1 teaspoon garlic powder and 1 teaspoon of finely ground black pepper

Use a large 2 liter pot and add all the cans of tomatoes and peel and halve the onions. Plop in the butter and bring to a boil. Lower the heat to a simmer and stir occasionally. Remember to smooth out the plum tomatoes on the side of the pot as they cook. The smell that will fill your kitchen is amazing. I promise. I let my big pot slowly simmer, and mush the tomatoes for a good hour and half. When the tomatoes are lovely and the sauce is shinny and the onions have done their job. I strained the sauce and pushed it through a strainer and got all those lovely onion and tomato juices out. Discard  the left over  pulp and let your sauce sit with lid on while you fix the pasta. Remember to taste, taste and taste! Add, more salt or what ever you wish and have fun.